How to scrape Twitter/X data with n8n using ScrapeBadger (and send the data anywhere)
Pulling tweets once is easy. Keeping a tweet feed fresh inside an automation is the hard part.
That’s why n8n + ScrapeBadger is a solid combo: ScrapeBadger handles the Twitter/X data extraction, and n8n handles everything around it: scheduling, transforming data, and routing results to whatever you need next (Slack alerts, a database, Airtable/Notion, a spreadsheet, or a webhook).
In this tutorial, you’ll build a working n8n workflow that:
runs on a schedule
searches tweets by keyword/query
outputs clean, structured items you can plug into any n8n integration
Why this workflow pattern works
Most “tweet scraping” projects fail for boring reasons: people run a search once, copy/paste results, and then never keep it updated. This pattern fixes that:
Repeatable: the same steps run the same way every time
Composable: the scraped tweets become regular n8n items you can route anywhere
Maintainable: you can tweak the query or destination without rewriting the whole pipeline
Getting Started (Accounts + Credentials)
You’ll need access to n8n and a ScrapeBadger account so you can create an API key. And don't worry, both platforms have free trials, so you don't need to invest anything for this tutorial.
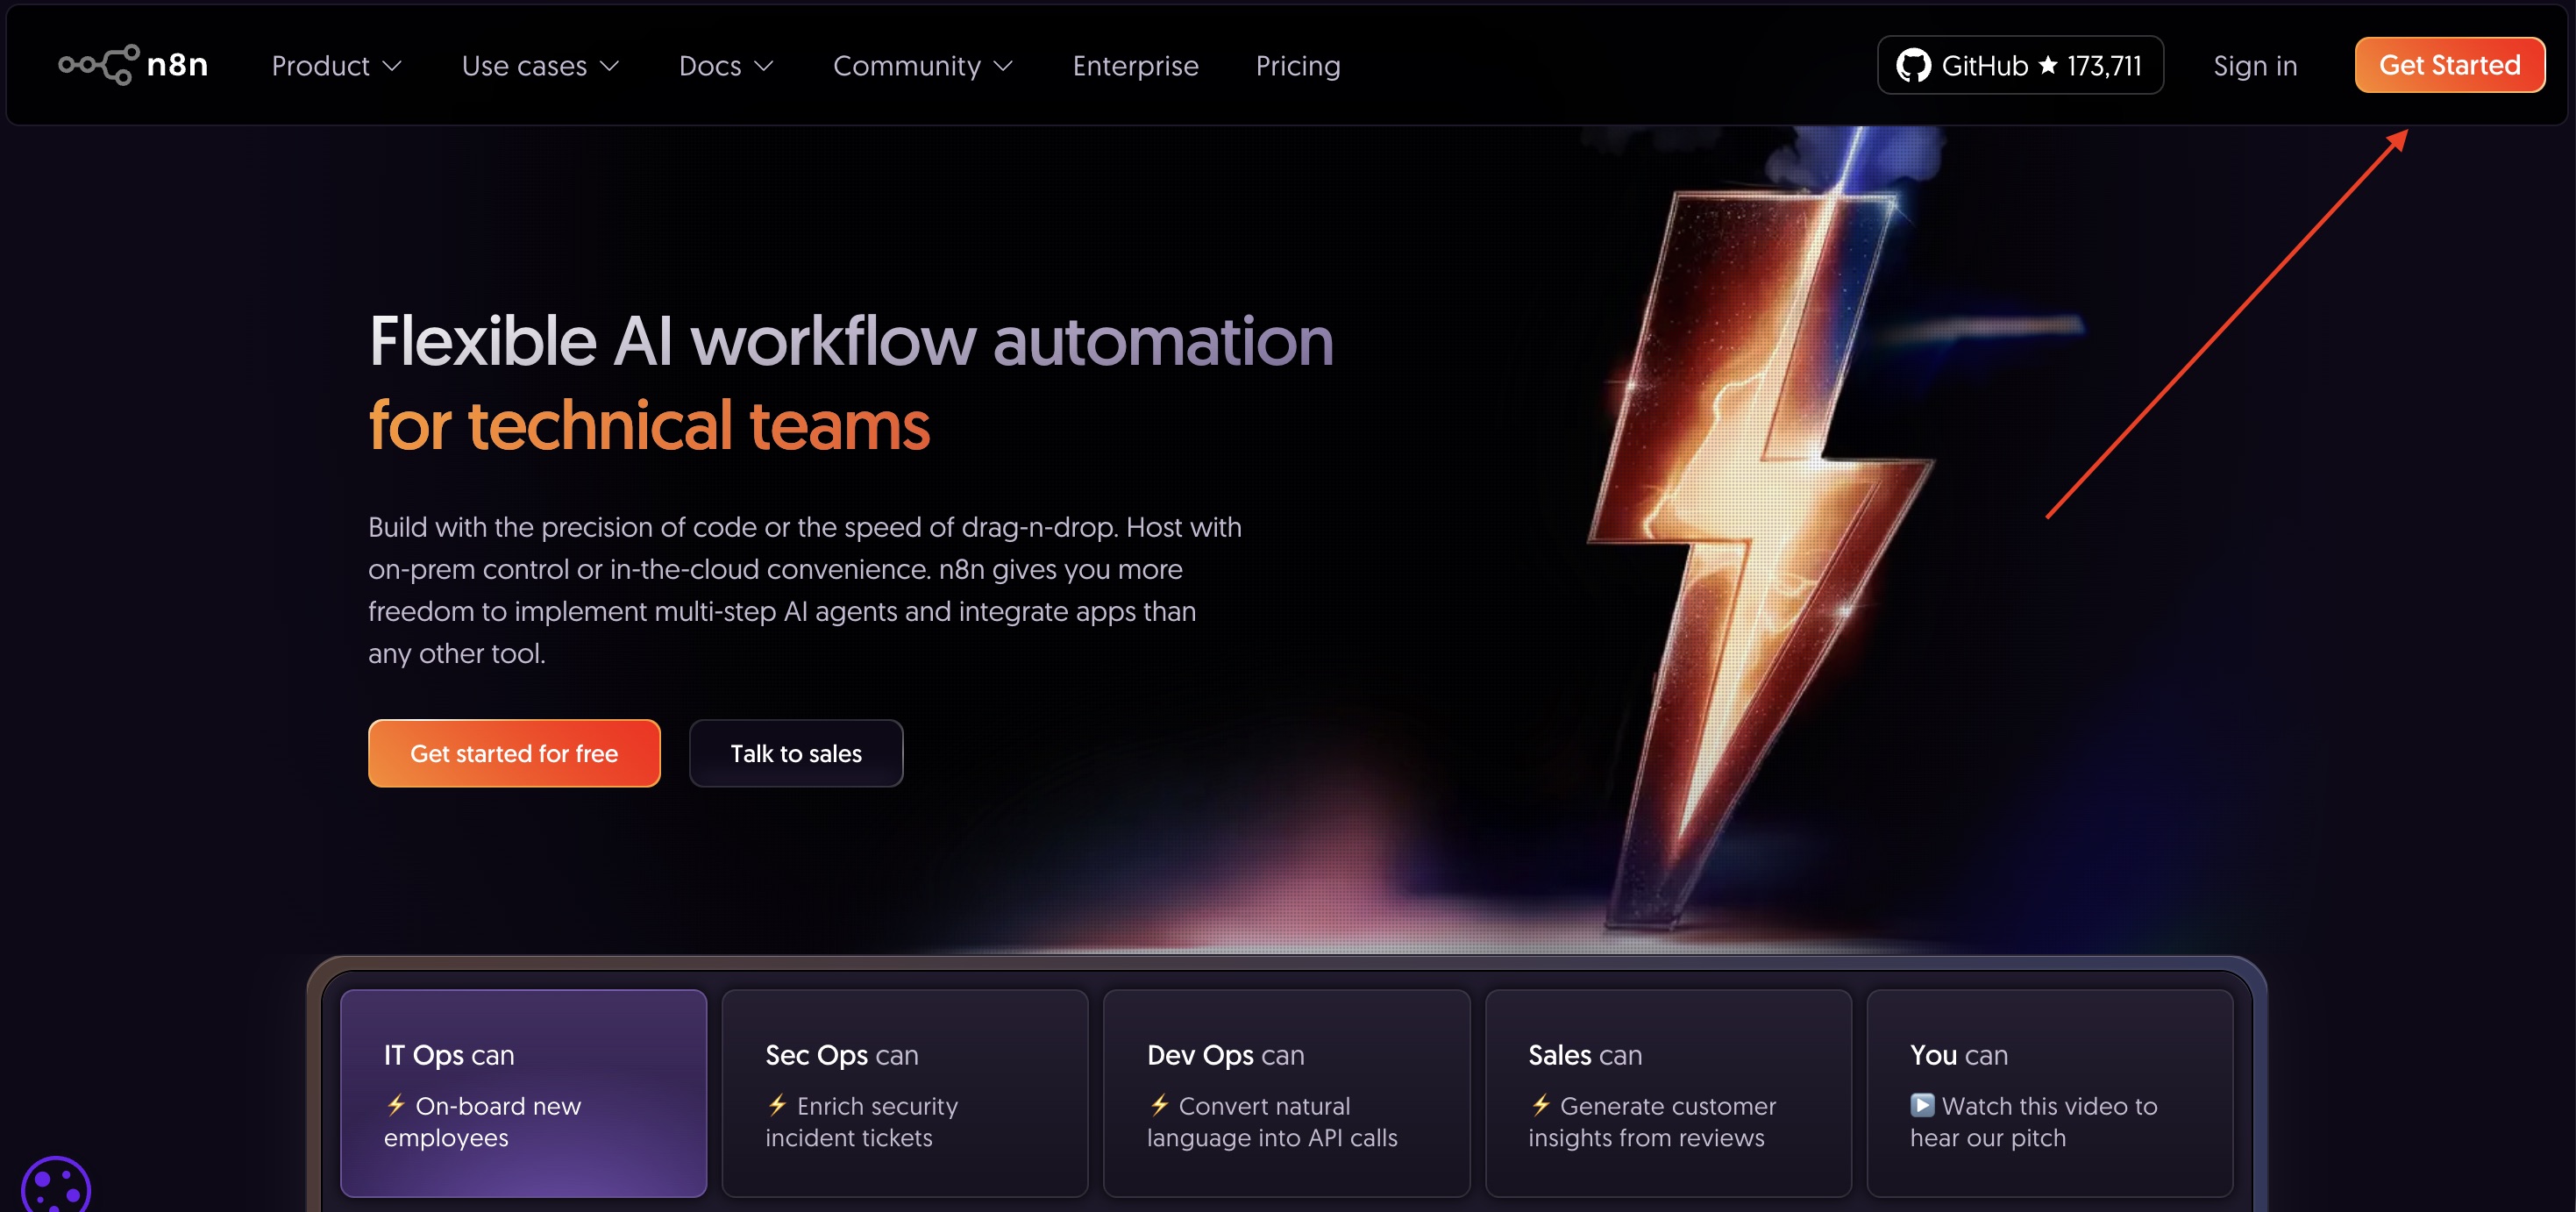
Step 1: Setting Up Your n8n Account
Open n8n (cloud or self-hosted) and create a new workflow.
Once you’re in, you’ll land on the workflow canvas, your visual workspace for building automations by dragging and connecting nodes instead of writing code.
Step 2: Getting Your ScrapeBadger API Key
Create a ScrapeBadger account, then generate an API key for your workflow.
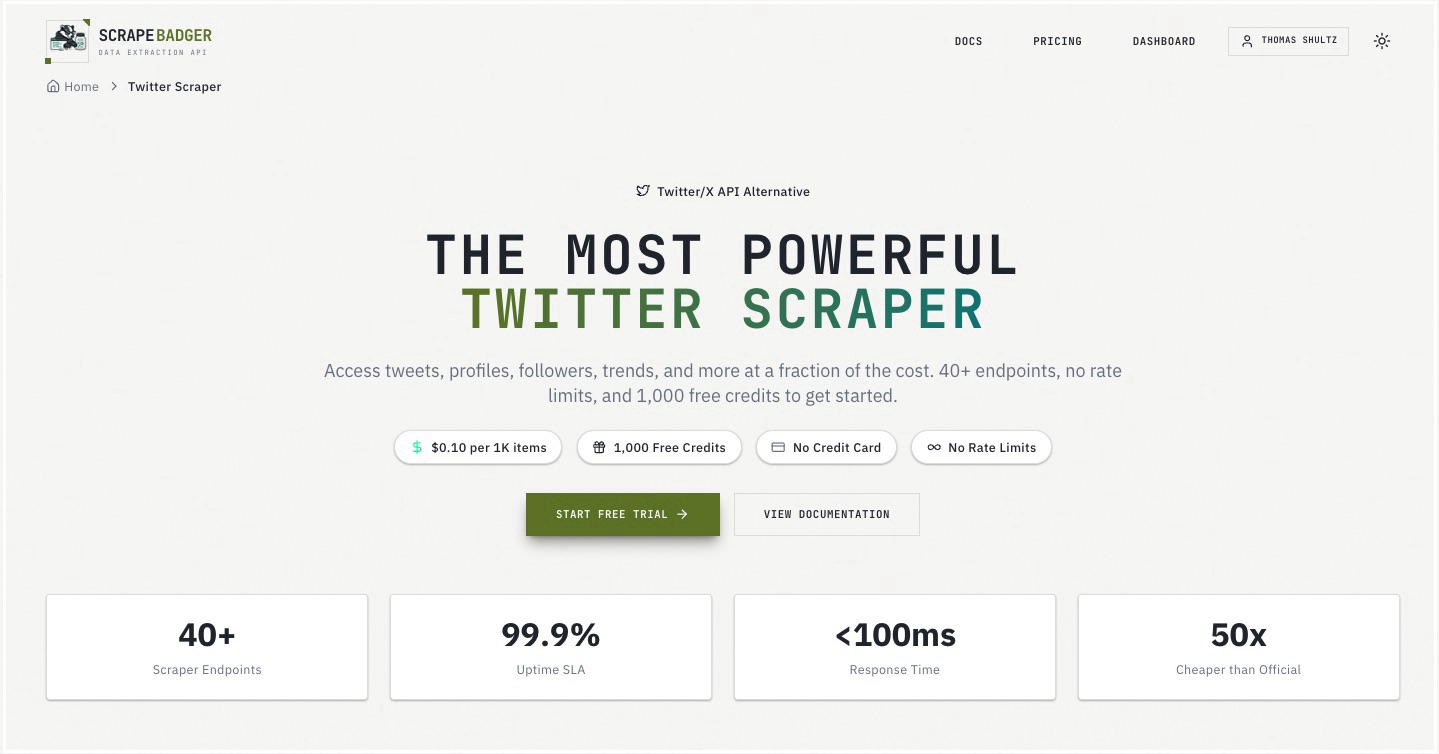
After signing up, go to the API keys section in your ScrapeBadger dashboard and create a key.
Now that your accounts are set up and your API key is ready, jump back into n8n and start building the scraping workflow.
Build the n8n Twitter Scraping Workflow (step-by-step)
This is the core build. You’ll end with a workflow that returns tweet items you can plug into any next step.
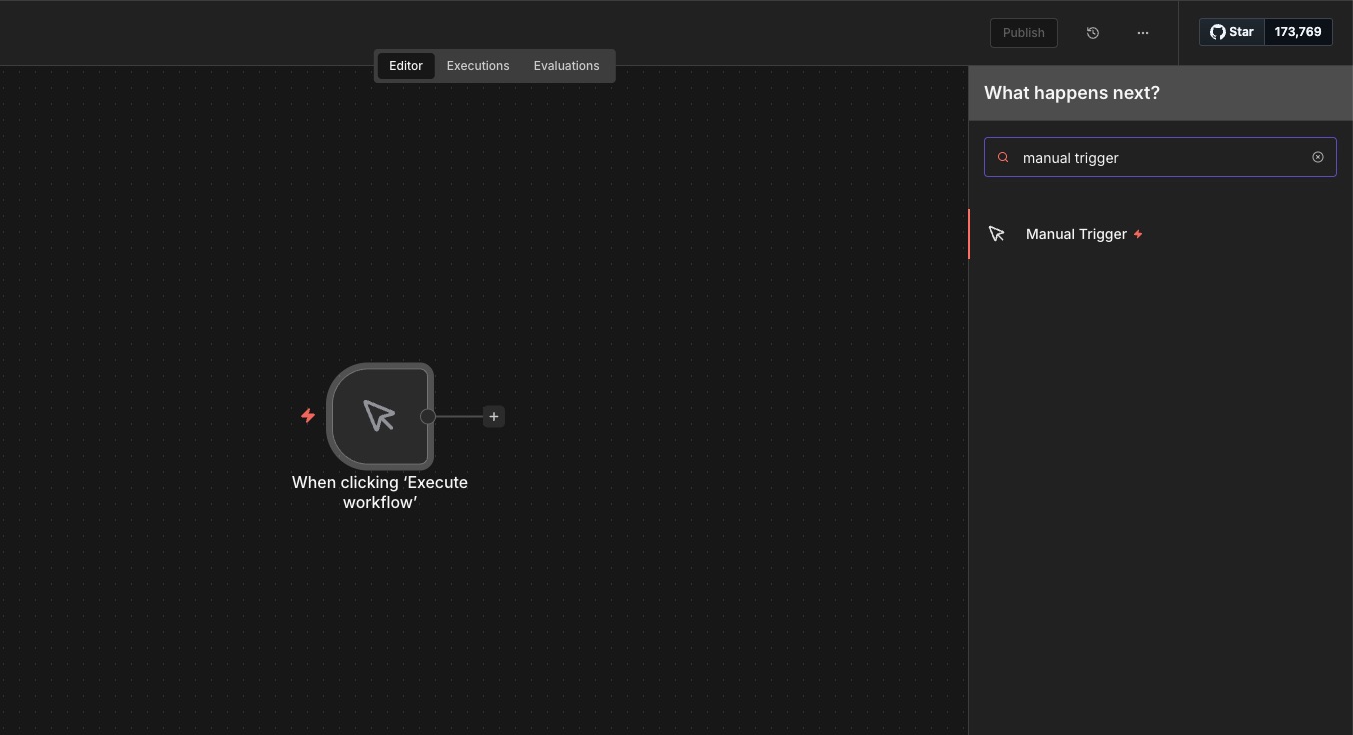
Step 1: Add a Manual Trigger for testing
Add a Manual Trigger node. This lets you launch the workflow with one click.
It’s perfect for testing because you control when the scraping runs, no schedule needed yet.
Step 2: Add an HTTP Request node
Add an HTTP Request node and connect it to the Manual Trigger. You’ll use this node to call the ScrapeBadger API.
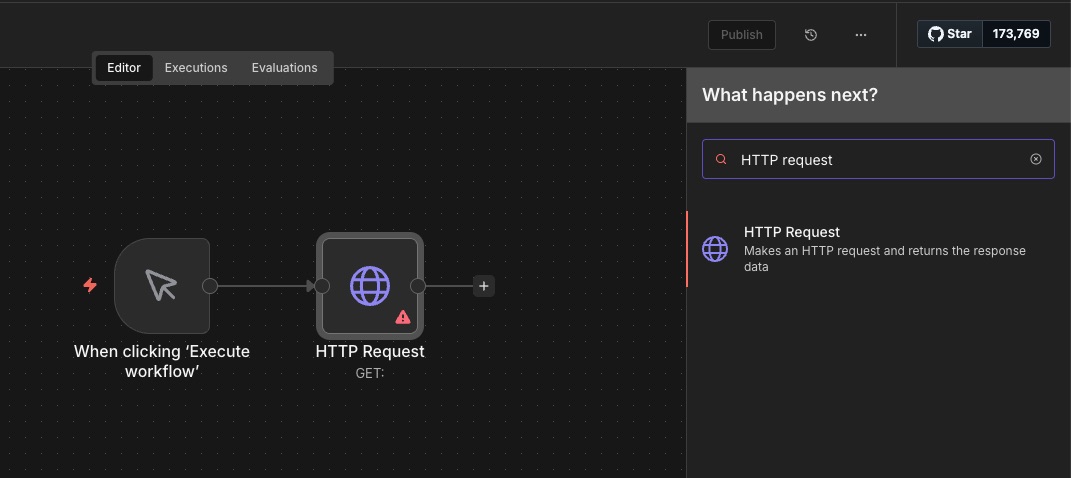
Step 3: Configure the HTTP Request (ScrapeBadger call)
Open the HTTP Request node and configure it to call the ScrapeBadger Twitter/X tweets endpoint.
For this example, we’ll use the advanced_search endpoint. The snippet below is a good reference for the request you’re building:
curl -X GET "https://scrapebadger.com/v1/twitter/tweets/advanced_search" \
  -H "x-api-key: YOUR-API-KEY"
ScrapeBadger provides 39 Twitter/X endpoints. If you want to explore what else is available, check the API reference linked in the docs repository.
Now connect your API key in n8n using a header-based credential:
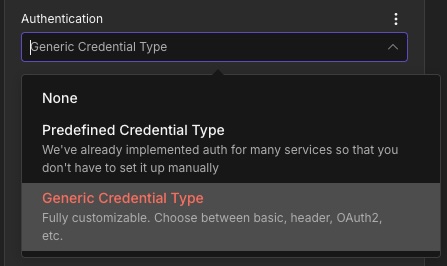
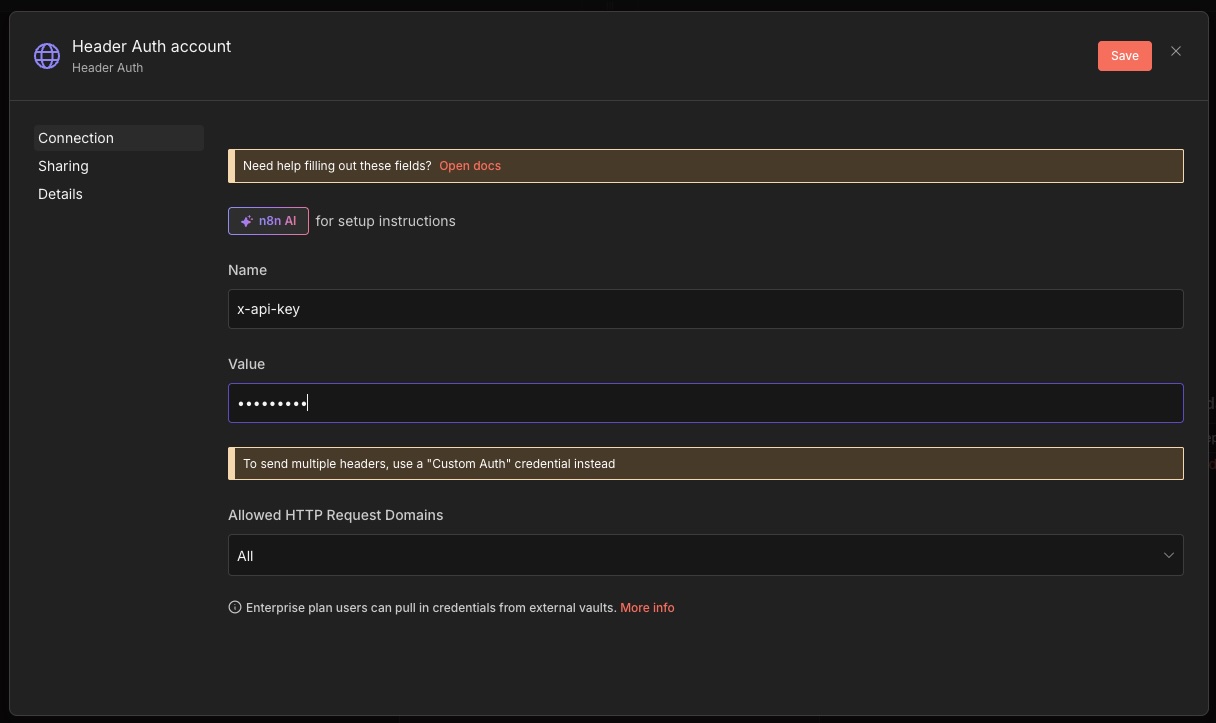
Use a header-auth style credential and set:
Name:
x-api-keyValue:
YOUR-API-KEY
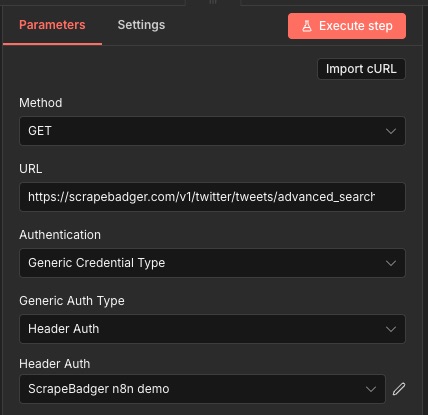
At this point, your request should look roughly like this:
Method:
GETURL:
https://scrapebadger.com/v1/twitter/tweets/advanced_searchAuth: header-based credential containing
x-api-key
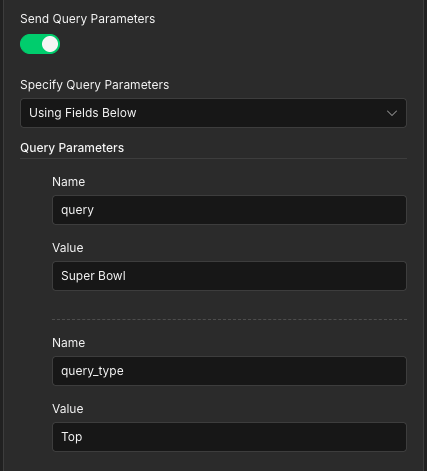
Finally, enable query parameters and set the ones you want to search with:
Query: the keyword/search string you want to match (for example:
Super Bowl)Type: the result category (for example:
Top,Latest, orMedia)Cursor (optional): used for pagination (fetch the next page of results). Leave it blank for the first request.
Step 4: Split the response into individual tweet items
Right now, the HTTP Request returns one response object. To work with tweets one-by-one in n8n, you’ll split the tweet list into separate items.
Add a Split Out node:
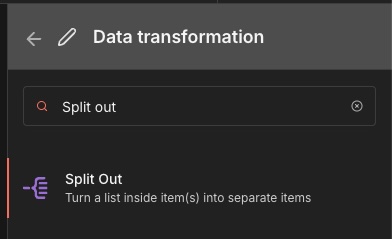
In the node configuration, set Fields To Split Out to data.
That’s it.

Step 5: Test the workflow
Your workflow should now look like this:
Manual Trigger → HTTP Request → Split Out
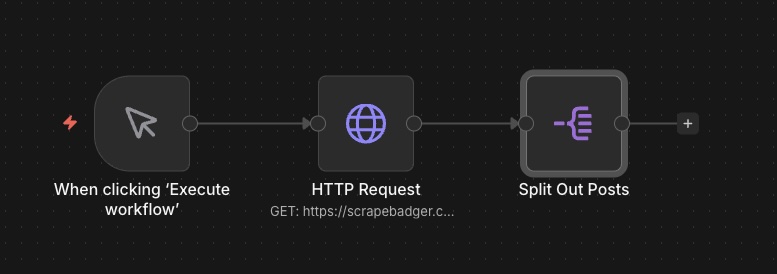
Run it (execute the workflow) and check the results.
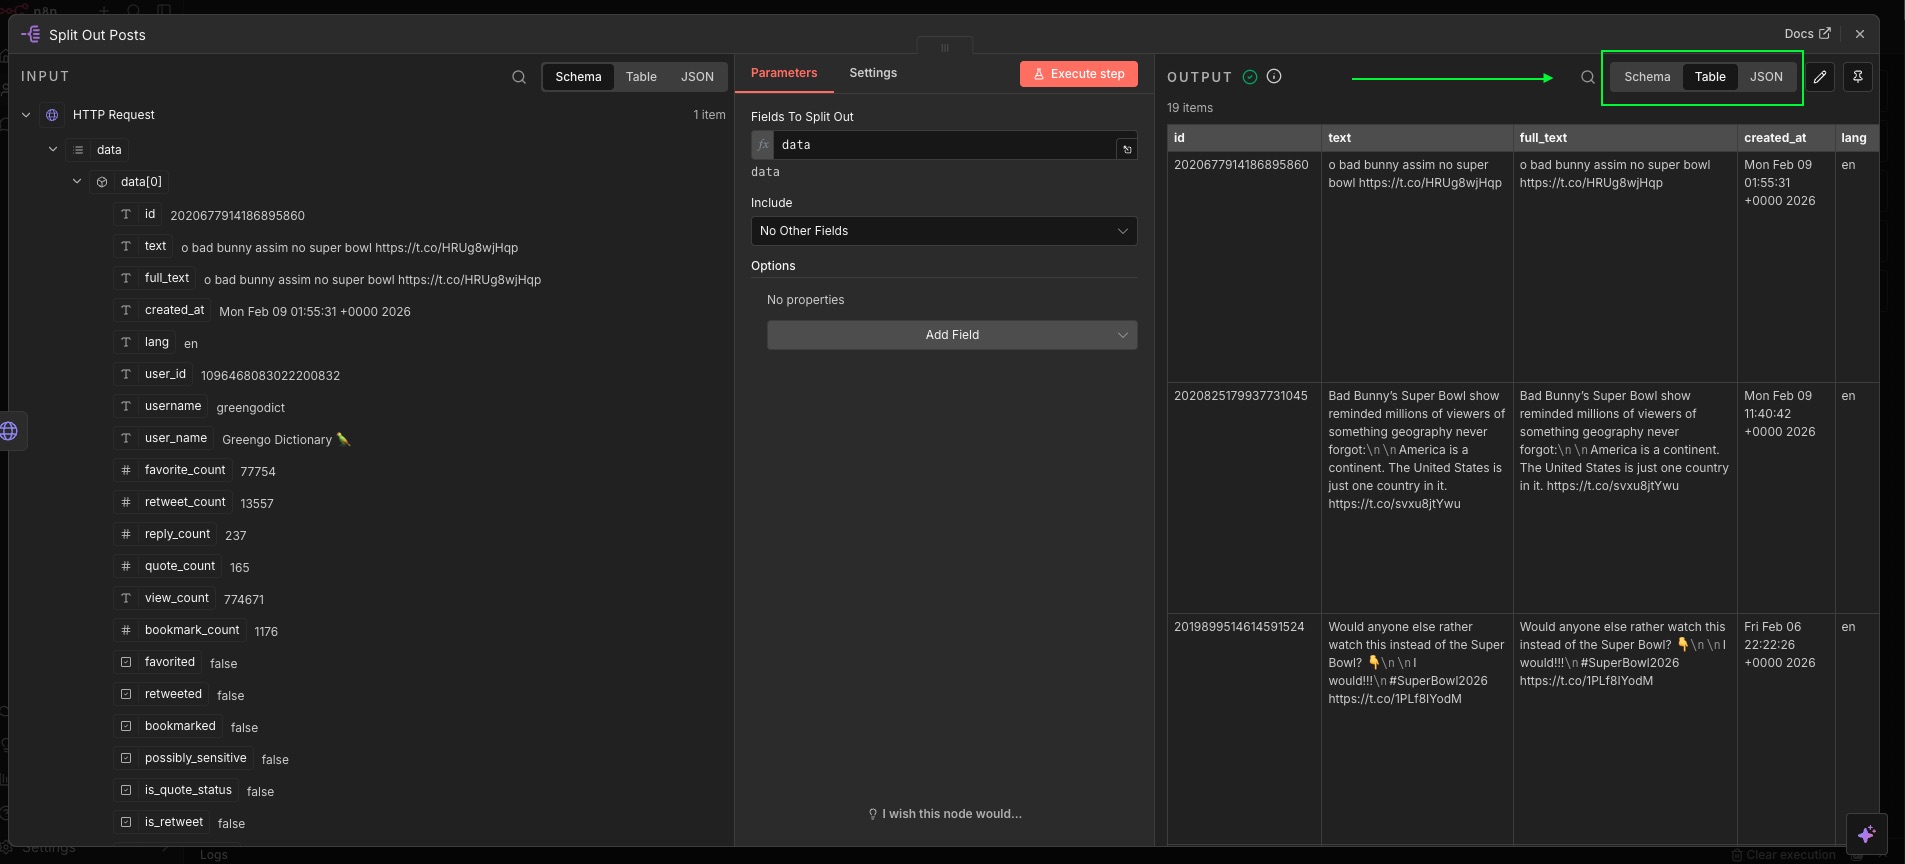
Open the Split Out node output. On the right panel you should see the split items. You can view them in different formats (for example, schema/table/JSON).
What to do next (routing the data anywhere)
Congrats, you’ve wired up the scraping part. From here, the tweets are regular n8n items, so you can:
send alerts to a chat tool (Slack, email, etc.)
store tweets in a database
write rows into Sheets/Airtable/Notion
call a webhook to pass data to another system
For more details on the ScrapeBadger n8n integration, see the project README:
https://github.com/scrape-badger/n8n-nodes-scrapebadger
Links:
- ScrapeBadger: https://scrapebadger.com/
- n8n: https://n8n.com/
If you run into any problems, you can reach support on Discord:
https://discord.com/invite/3WvwTyWVCx

Written by
Thomas Shultz
Thomas Shultz is the Head of Data at ScrapeBadger, working on public web data, scraping infrastructure, and data reliability. He writes about real-world scraping, data pipelines, and turning unstructured web data into usable signals.
Ready to get started?
Join thousands of developers using ScrapeBadger for their data needs.